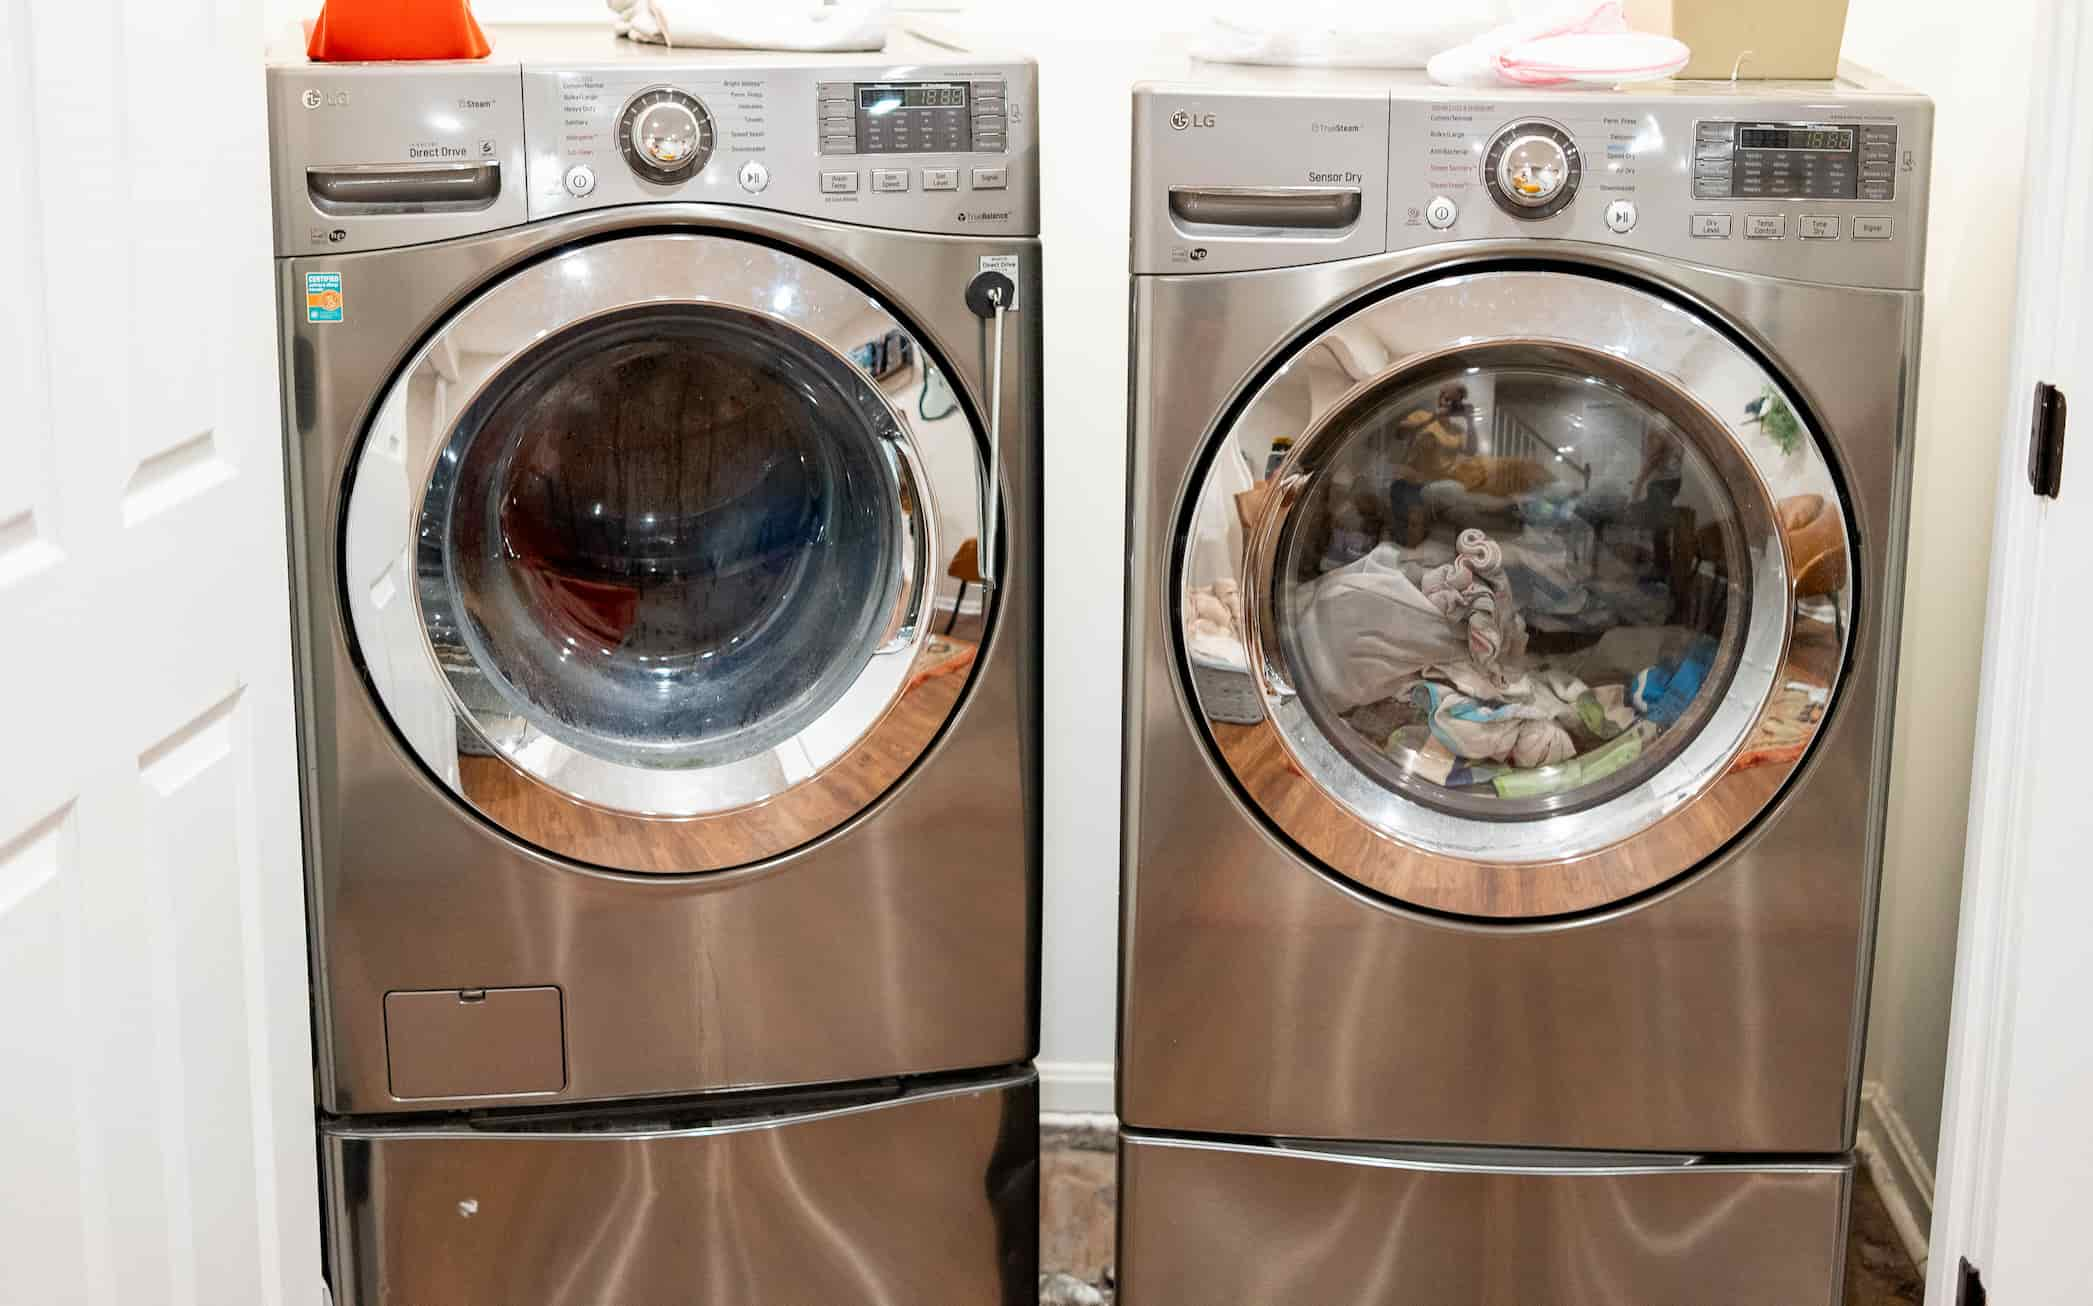
When you purchased your washer and dryer pedestals, you were probably like me – very excited to have the extra storage and features. You thought you’d use them all the time, right? Me too. But in reality, I rarely used the extra storage or mini washer pedestals- so infrequently in fact, that I often forgot what was in there. I ended up removing the pedestals, and it was a fantastic decision. In this post, I’ll share how you can do the same.
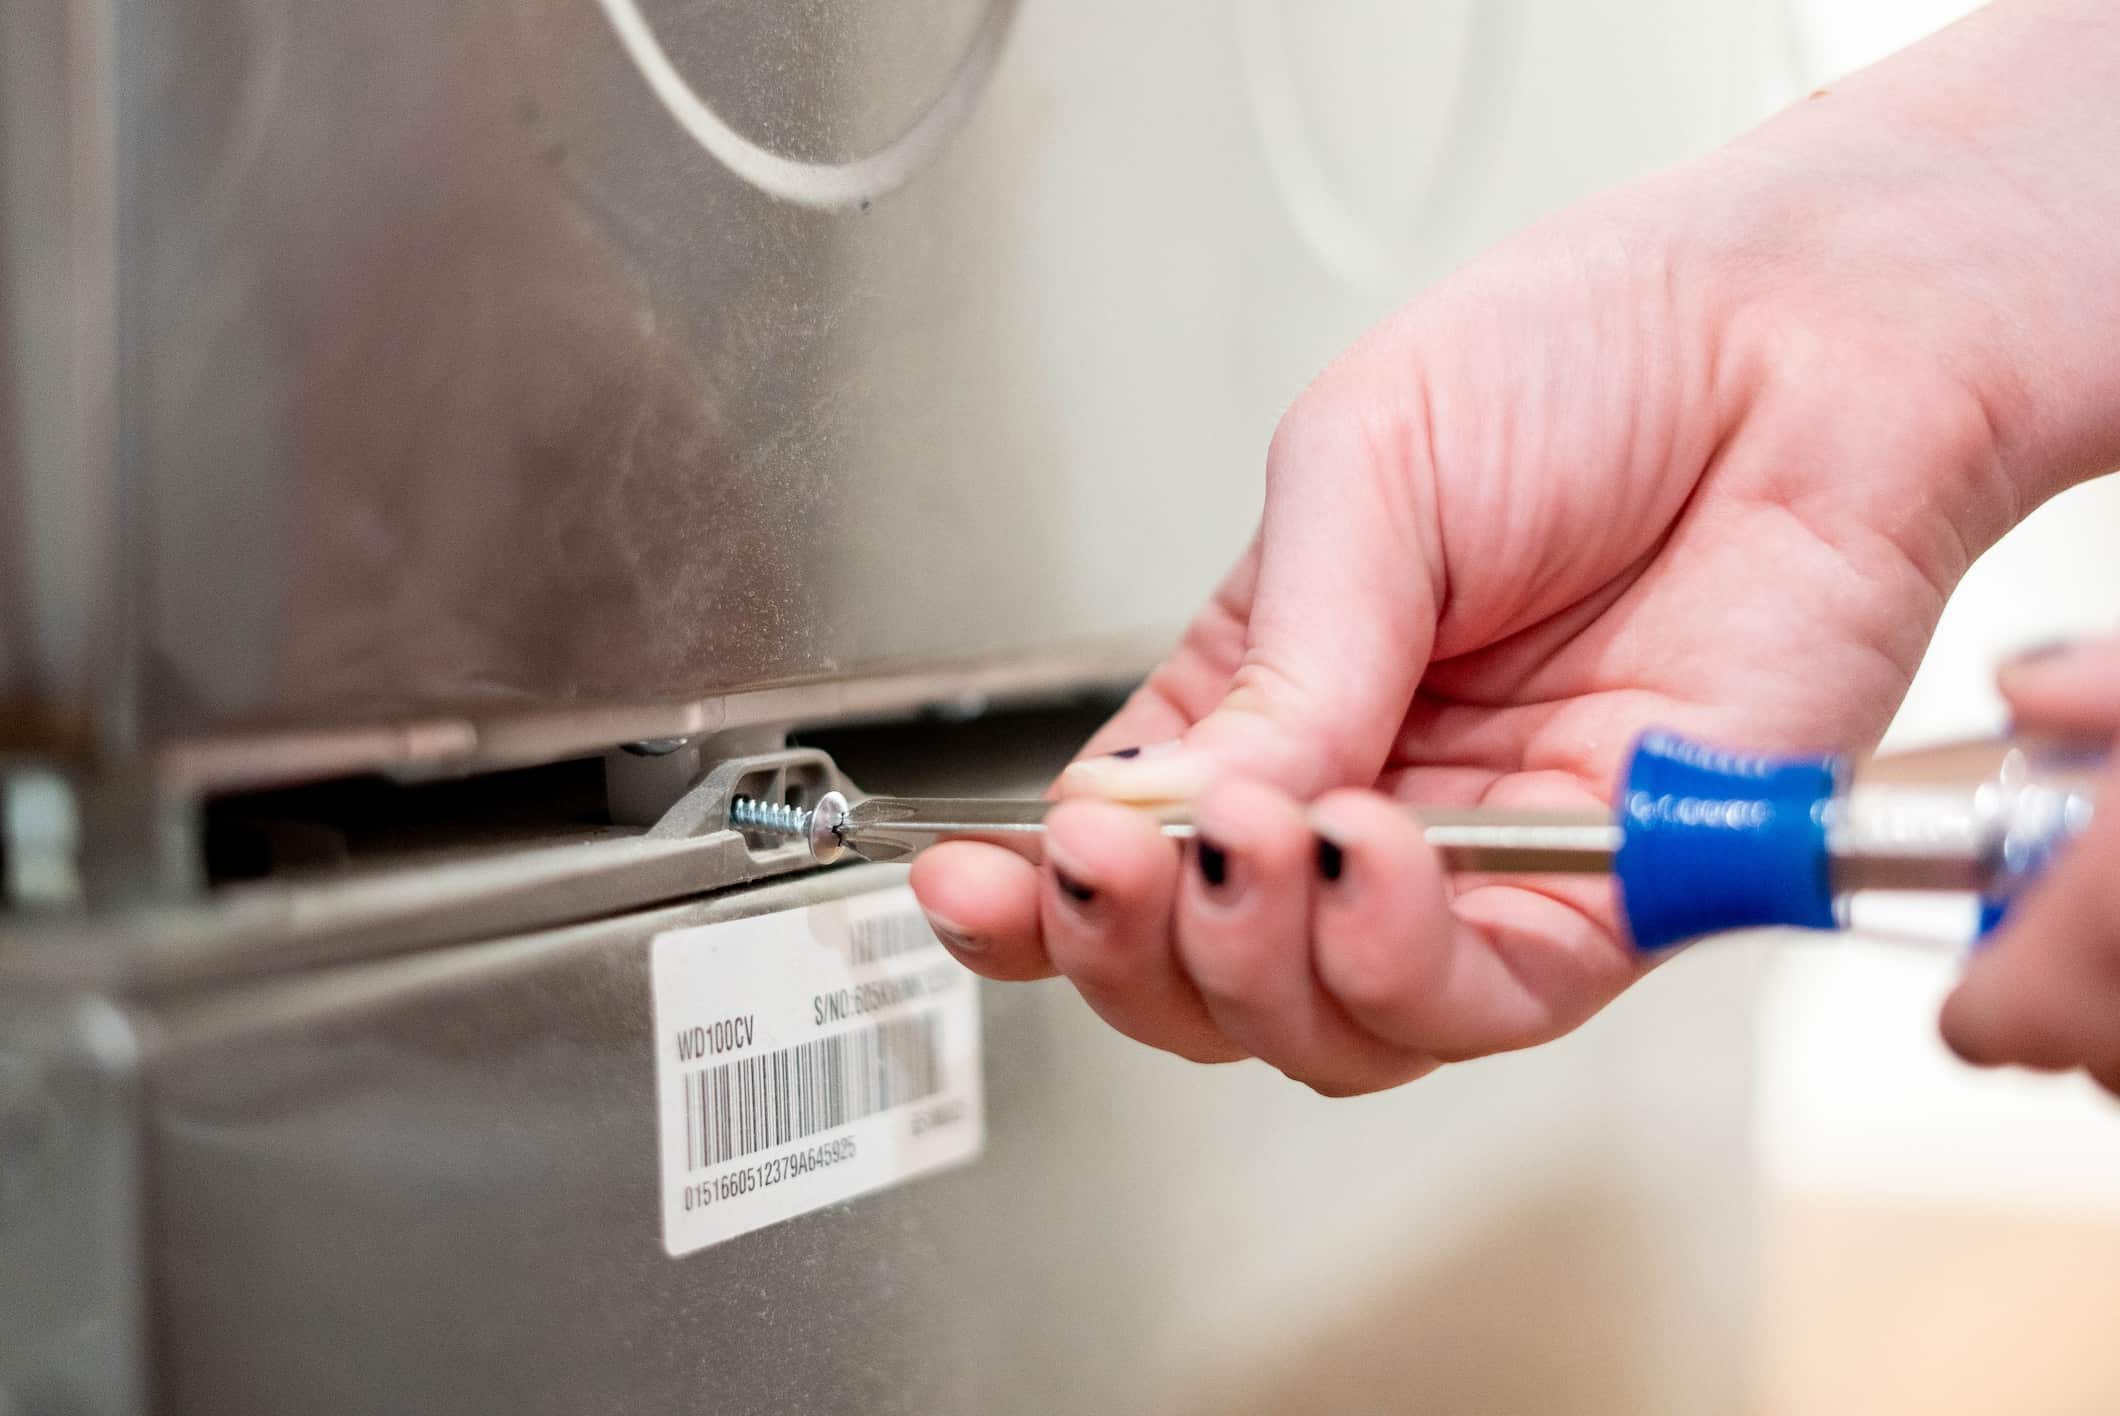
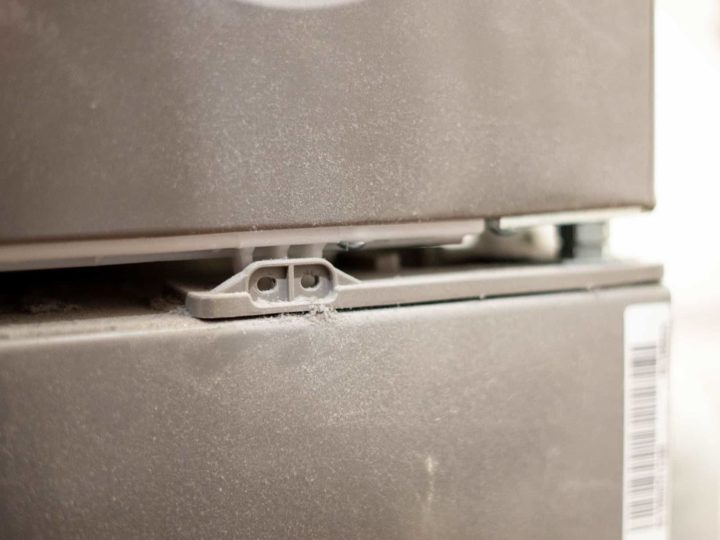
To remove a pedestal from a washer or dryer, unscrew the four clips on each pedestal that hold the feet of the washer or dryer in place. Then, break the seal between the washer/dryer and the pedestal by rocking gently, and lift off.
I watched tons of videos and tutorials in preparation for this project (I was really intent on not messing up some of my hardest-working appliances), and this process seems to work for nearly every brand, whether it’s Whirlpool, Kenmore, GE, LG, Samsung (like ours), Maytag, or something else. And while the process I described above seems easy enough, there are a few other things you’ll want to know about how to remove the pedestal from a washer and dryer.
Table of Contents
- How To Remove The Pedestal From A Washer And Dryer
- Why I Regret Buying Pedestals for My Washer and Dryer
- Are Pedestals for Washers and Dryers Worth It?
- What To Do With Old Washer And Dryer Pedestals
How To Remove The Pedestal From A Washer And Dryer

Step 1: Shut Off The Water & Power, and Unhook the Connections
Before working on any major appliance, you’ll want to make sure to shut off the water and power and gather any tools you might need. In this case, I used:
- A philips head screwdriver to remove the clips
- A large bucket to drain the hoses
- Some microfiber towels to dust everything off (these are my favorite!)
- A shop vac to clean out the washer/dryer closet while I was at it
PS: If you’re starting a wiring project, take a peek at this post, where I explain whether or not you can use duct tape as a substitute for electrical tape!
Once you’ve gathered all of your materials and tools, unplug the machine from the wall and use the shutoff valves near the hot and cold water lines to turn off the water.
If your setup doesn’t have shutoff valves right there near the washer, you’ll need to use your main water shutoff, which can usually be found in the basement, in a utility room, in the garage, or sometimes near the street (depending on where you live and the climate).
Once everything is shut off, gather a bucket to catch any water left in the lines and slowly unscrew the hot and cold water lines. You’ll want to drain these so water doesn’t pour out when you’re not expecting it during the lifting process.
You’ll also need to disconnect the dryer vent by unscrewing the clamp ring that surrounds the metal tubing. I’ve found they tend to just pop off with a slight tug though, so you may not even have to unscrew anything! Just be sure to make a tight connection when you reinstall it, since not properly venting your dryer can increase drying time and cause a fire hazard.

Step 2: Unscrew The 4 Clips From Each Pedestal and Rock Gently
On each pedestal, you’ll find four clips – one at each corner. There are a few screws in each clip, and they simply need to be removed using a Philips head screwdriver.
Once you’ve removed all the screws from each clip, gently rock the washer or dryer back and forth on the pedestal to break any seals that have formed over time. If it’s been sitting for quite a while and has experienced a few detergent spills over the years (like mine had), you’ll definitely need to unstick them before lifting the washer or dryer.
Step 3: Lift The Washer Or Dryer Off The Pedestal
Once you’ve broken any seal that’s formed between the washer or dryer feet and the pedestal beneath, you’re ready to lift off the washer or dryer. This is a team effort – especially the washer. They are SO heavy!
Gently lift the washer or dryer straight up, and shuffle to the side until you’ve cleared the pedestal. It can definitely be helpful to have a spotter during this process to let you know if you’ve gone far enough, but it certainly isn’t required. Our kids are too young to spot us, and my husband and I managed just fine without one.
Step 4: Hook Up Your Washer and Dryer Again and Turn Everything On
Now that you’ve removed the pedestals, you can set them off to the side – I’m going to try to sell them on Facebook Marketplace, but I don’t have high hopes. If not, I’ll try and find some way to recycle them!
At this point, you’ll want to hook up your washer and dryer again.
Start with the washer by reconnecting the drain hoses and hot and cold water lines, making sure there’s a tight fit. Slowly turn on your shutoff valves, watching for any leaks.
Next, hook up your dryer vent to the back of your machine, making sure there’s a strong and secure connection. Then, plug in your washer and dryer and move them back into place.
And that’s it! That’s how to remove the pedestal from a washer and dryer – a little labor-intensive, but it was a huge (free!) upgrade in terms of the usability of our space.

Why I Regret Buying Pedestals for My Washer and Dryer
There are a few reasons I regret purchasing the matching pedestals for my washer and dryer – initially, I thought it would be a great investment, but over time they proved more annoying than helpful. The storage pedestal was too short, the mini washing machine was out of sight and therefore out of mind, and the height they added actually caused more issues than it solved.
The Storage Pedestal
The storage pedestal would have been GREAT…if it could actually fit anything inside it. We have two toddlers, and with those little ones comes a LOT of clothes and laundry.
Basically, I could only fit dryer sheets, small boxes of laundry supplies, and a few other knick-knacks in the storage pedestal. I couldn’t find a brand of detergent that works for our family that also fit inside the pedestal. So, everything else sat on top of the dryer, and I forgot what was in the storage pedestal. We don’t really use dryer sheets, but I think we might have used them more often if I was in the habit of opening the drawer more often to get detergent.
The Mini Washing Machine Pedestal
This is probably one of the biggest purchase regrets I’ve ever made for our home. When we were shopping for a new washer and dryer set, I thought this would be the perfect solution for cloth diapers (we had two under two at the time) – a small compartment that we could run every day and lessen our impact on the environment even more.
In reality, though, I ALWAYS forgot there were clothes in there. And they’d get left for way too long. I also found that the mini washer didn’t really clean as well as the regular size one. Plus, my kids loved playing with the buttons, and there’s not a good way to child lock it. It technically exists on our unit, but it’s SUPER inconvenient and easy for the kids to figure out.
The Height Issue
I really thought the added height of the pedestals would make the washer and dryer easier to use since we wouldn’t be bending over so far, but in reality, it made the top of the machines super high and we lost a ton of work surface.
If your washer and dryer are at a standard height, you can easily fold laundry on top of them, keeping everything contained in one place. But if you have pedestals underneath, the work surface is just too high.
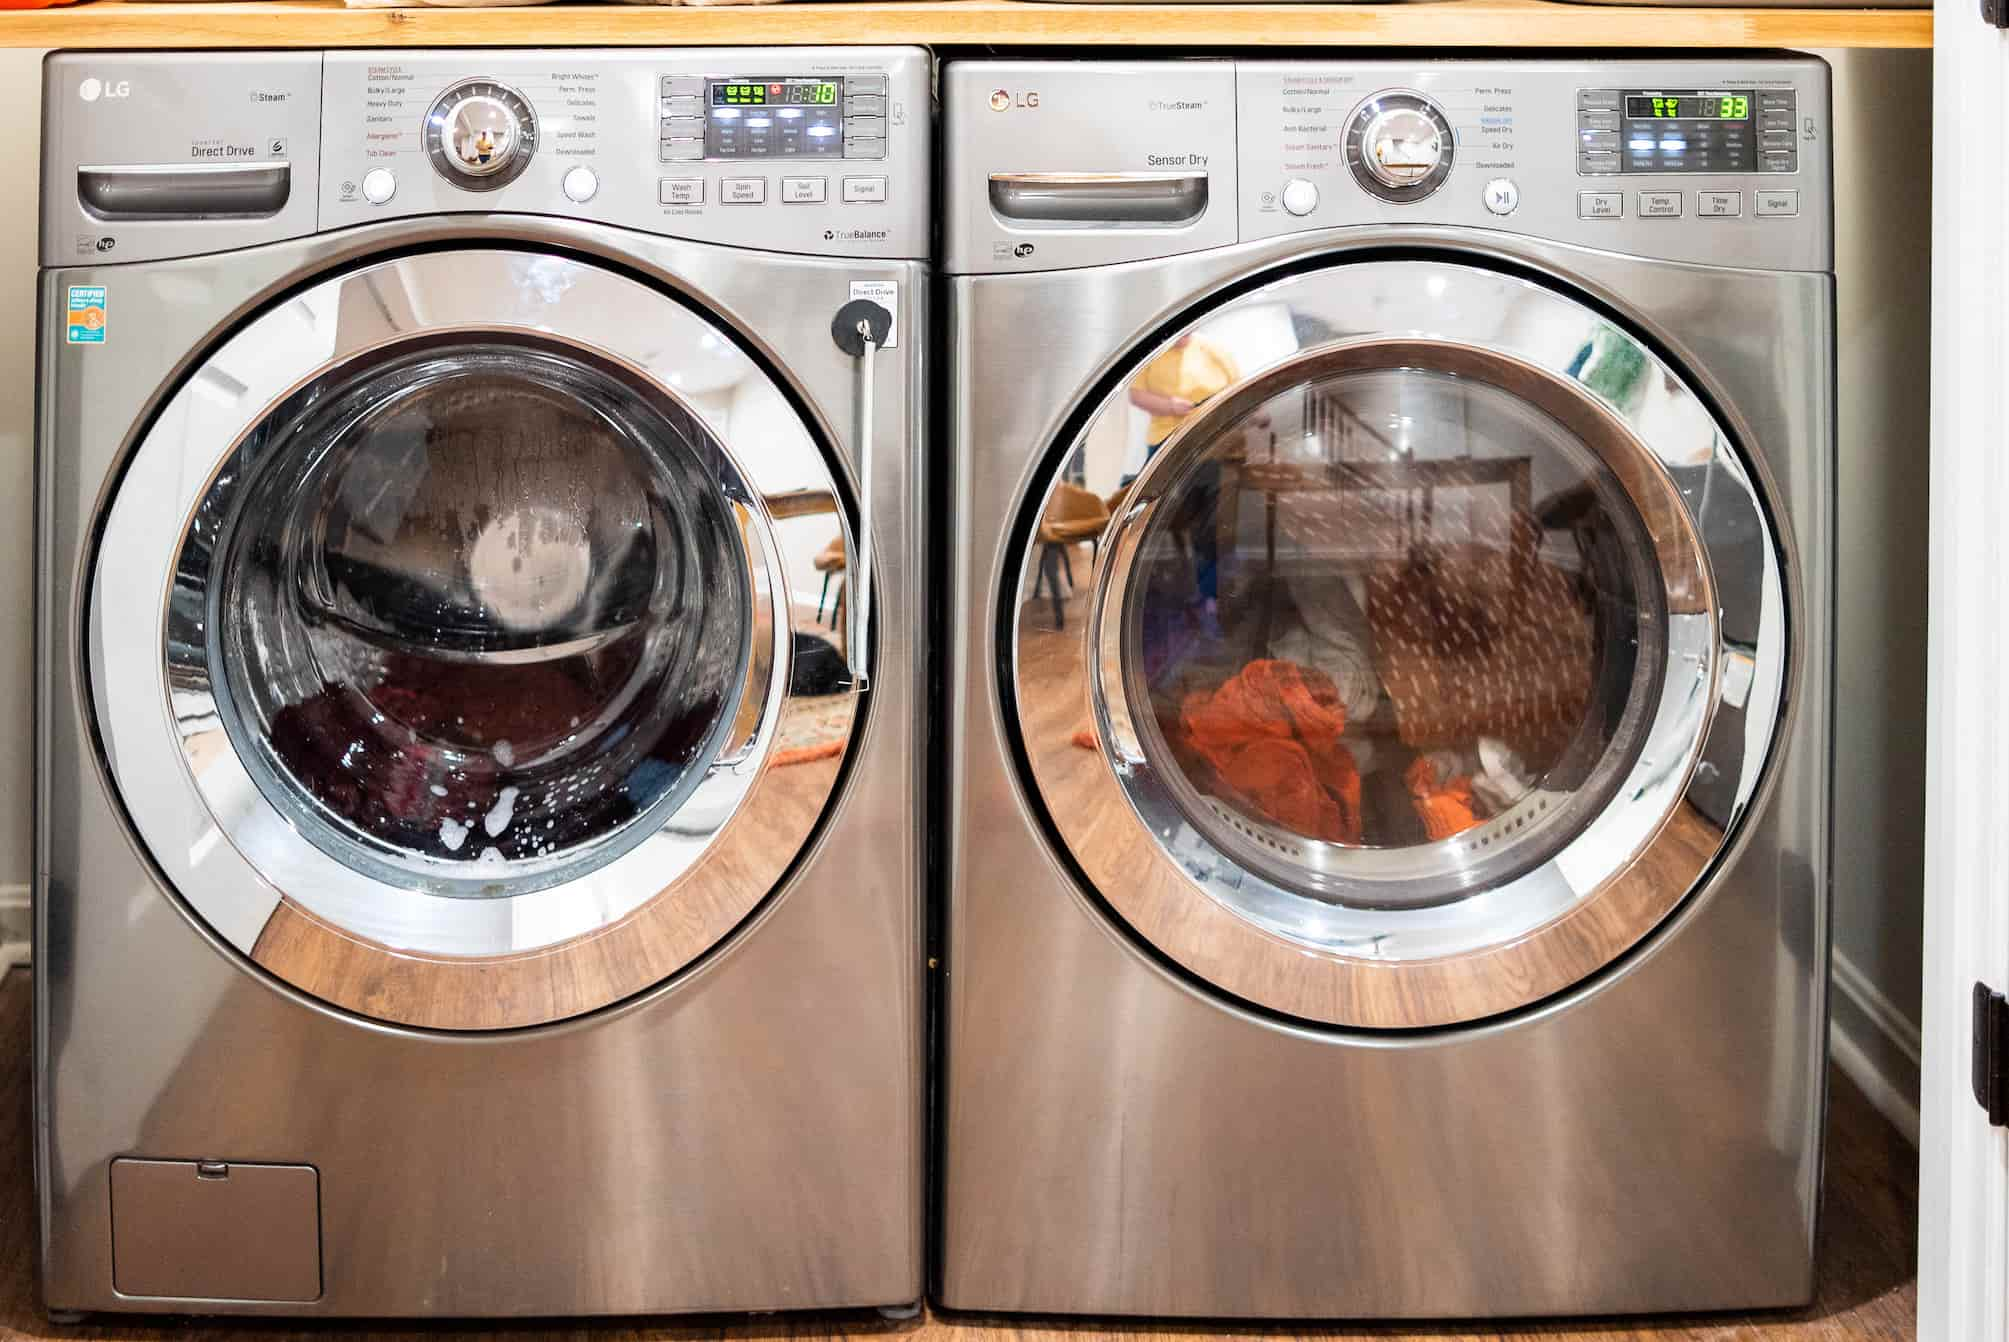
Now that they’re down on the floor with no pedestals, I have a huge work surface to fold on top of, and the extra dip down to load and switch laundry hasn’t bothered me at all.
Are Pedestals for Washers and Dryers Worth It?
In my opinion, pedestals for washers and dryers are not worth it – the cost versus the storage issues, the low performance from the mini washing machines, and the reduced folding space make them something I would not buy again.
What To Do With Old Washer And Dryer Pedestals
I’ve been thrilled with the result, but now I’m left with two unused washer and dryer pedestals…what do I do with them?
I mentioned earlier I’m thinking of trying to sell them (for next to nothing), but if that doesn’t work I don’t just want them to go in the landfill. Here are a few other things I might try:
- Taking them to a recycling center (I’ll definitely call ahead to see if they are acceptable items, though)
- Working with a scrap metal company or taking them to a scrap yard myself
- Leave them on the curb with a sign that says ‘Free!’
- Gift them to a family friend that has a similar appliance (if they fit their model)
Do you have a pedestal for your washer and dryer? Have you found them as frustrating as I have? I’d love to hear your thoughts! Leave me a comment below.


Jane
Saturday 24th of August 2024
You didn't mention if you had to put the feet on the washer and dryer after you removed the pedestal. I'm assuming that you did because I don't know how you'd level. Did you keep them from when the pedestal was installed or were you able to use the ones attached to the pedestal?
joseph
Friday 19th of January 2024
I appreciate the creativity you brought to this project. ❤️
Cassie
Friday 4th of August 2023
I was able to remove mine yesterday but ran into an issue with the washer. After removing I realized there is no metal bottom, I can see right into the washer. Is this normal?? Thanks!
Catherine
Friday 4th of August 2023
Hi Cassie - that doesn't sound right. I'd definitely consult your specific model's manual to see if they are supposed to be able to be separated.
Peggy
Thursday 6th of July 2023
I love my washer and dryer pedestals they are 14 ins deep and all my washing supplies fit nicely in side
Brian
Sunday 10th of July 2022
I disagree. Once you have arthritis in your back and knees, the pedestals are a must have.
Catherine
Monday 11th of July 2022
That's the beauty of choice! What's right for one person may not be for another. I'm glad you are enjoying your pedestal!