When redecorating a room, taking down old wallpaper is only a small part of the battle. The sticky residue left behind—wallpaper paste— is the frustrating part because it is so hard to remove. While commercial chemicals are available to use, many homeowners prefer natural solutions that are safer for their families, pets, and the environment. In this post, we are going to look at eco-friendly ways to remove wallpaper paste without harsh chemicals.
Understanding Wallpaper Paste
Wallpaper paste is made to be durable and long-lasting, which is why it can be so difficult to remove. The good news is that most wallpaper adhesives are water-soluble, so you can use water to reactivate them. As the adhesive dissolves in water this makes natural removal methods not only possible but also quite effective.
Hot Water Solutions: The Key to Natural Removal
Hot water is the easiest way to get rid of wallpaper paste. Plain hot water can soften make a lot of different types of wallpaper glue softer, which makes it easier to scrape off the walls. But adding natural ingredients can make a big difference in how well you do.
Hot Water and Dish Soap
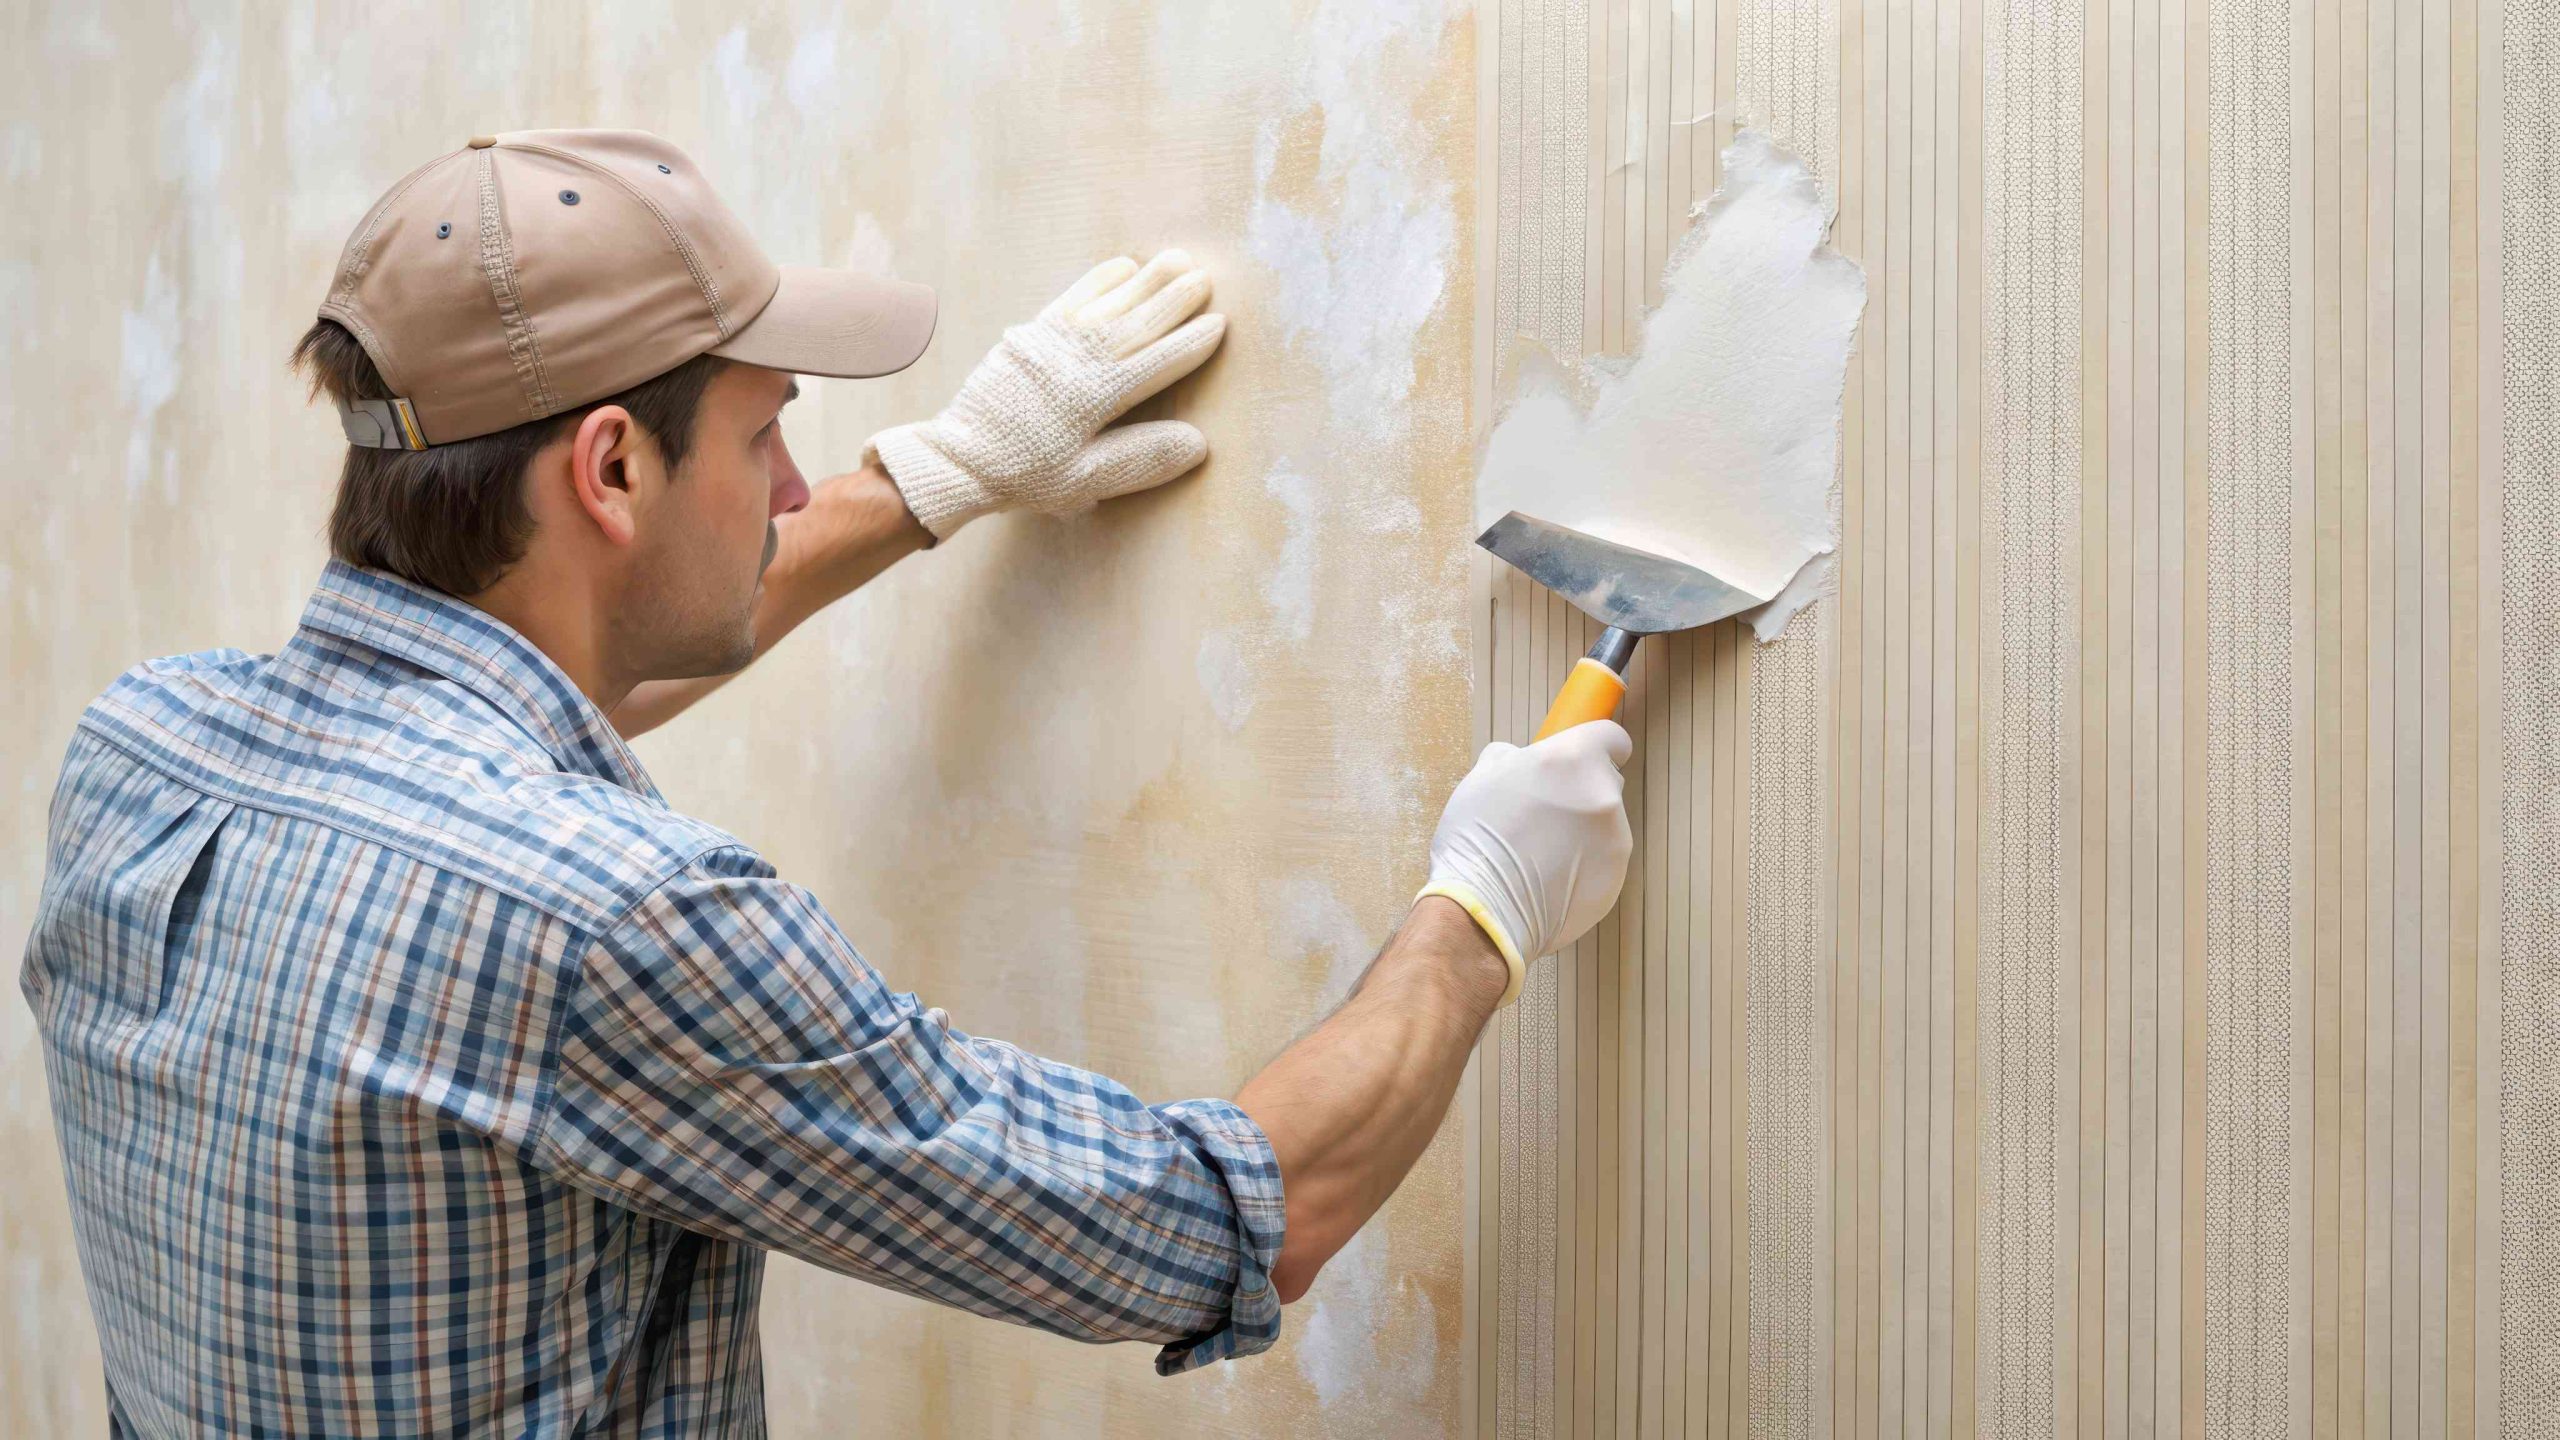
A mix of hot water and a few drops of dish soap works very well when getting rid of wallpaper paste. The soap helps break down the adhesive, while the hot water makes the paste softer. Use a sponge to apply the solution where needed. Let it sit for a few minutes so it can soak into the paste, and then gently scrape away the softened adhesive with a putty knife or paint scraper.
Vinegar Solution
If dish soap isn’t working to remove the wallpaper paste, a vinegar solution might work better. To make this stronger solvent, mix equal parts hot water and distilled vinegar (most people use 4 liters of each). The vinegar’s acidity helps break down the adhesive bonds in the paste. Use a sponge or a spray bottle to apply the solution to the wall. Allow it to sit on the wall for several minutes, then scrape away any loosened paste. This method works best on older or more stubborn wallpaper paste.
Baking Soda Mixture
Another natural option is a baking soda solution. To create this solution, mix 4 liters of hot water with 2 tablespoons of baking soda. The mild abrasiveness of baking soda helps dissolve the paste without damaging most wall surfaces. Apply this solution to the walls with a sponge or spray bottle and let it work for a few minutes. Then, use a scraper to remove any glue that has become soft.
Alternative Natural Methods
Use Fabric Softener to Remove Wallpaper Paste
Some people have been successful using fabric softener to remove wallpaper paste. In a spray bottle, mix equal parts warm water and liquid fabric softener to create this solution. Mix well by shaking the spray bottle, then spray a small section of the wall. Let the solution sit for a few minutes before scraping off the paste with a putty knife. This method has the added benefit of leaving behind a nice smell.
Borax Solution
Borax, a natural mineral, can help get wallpaper paste off of walls. It can also be used on wallpaper and painted walls to clean and get rid of unwanted smells. To make a paste, mix borax with a small amount of warm water. Apply the paste to the wall and give it a few minutes to work. After a few minutes, use a putty knife to scrape off the residue.
Application Techniques
No matter which natural solution you choose, how you apply the solution is always the same.
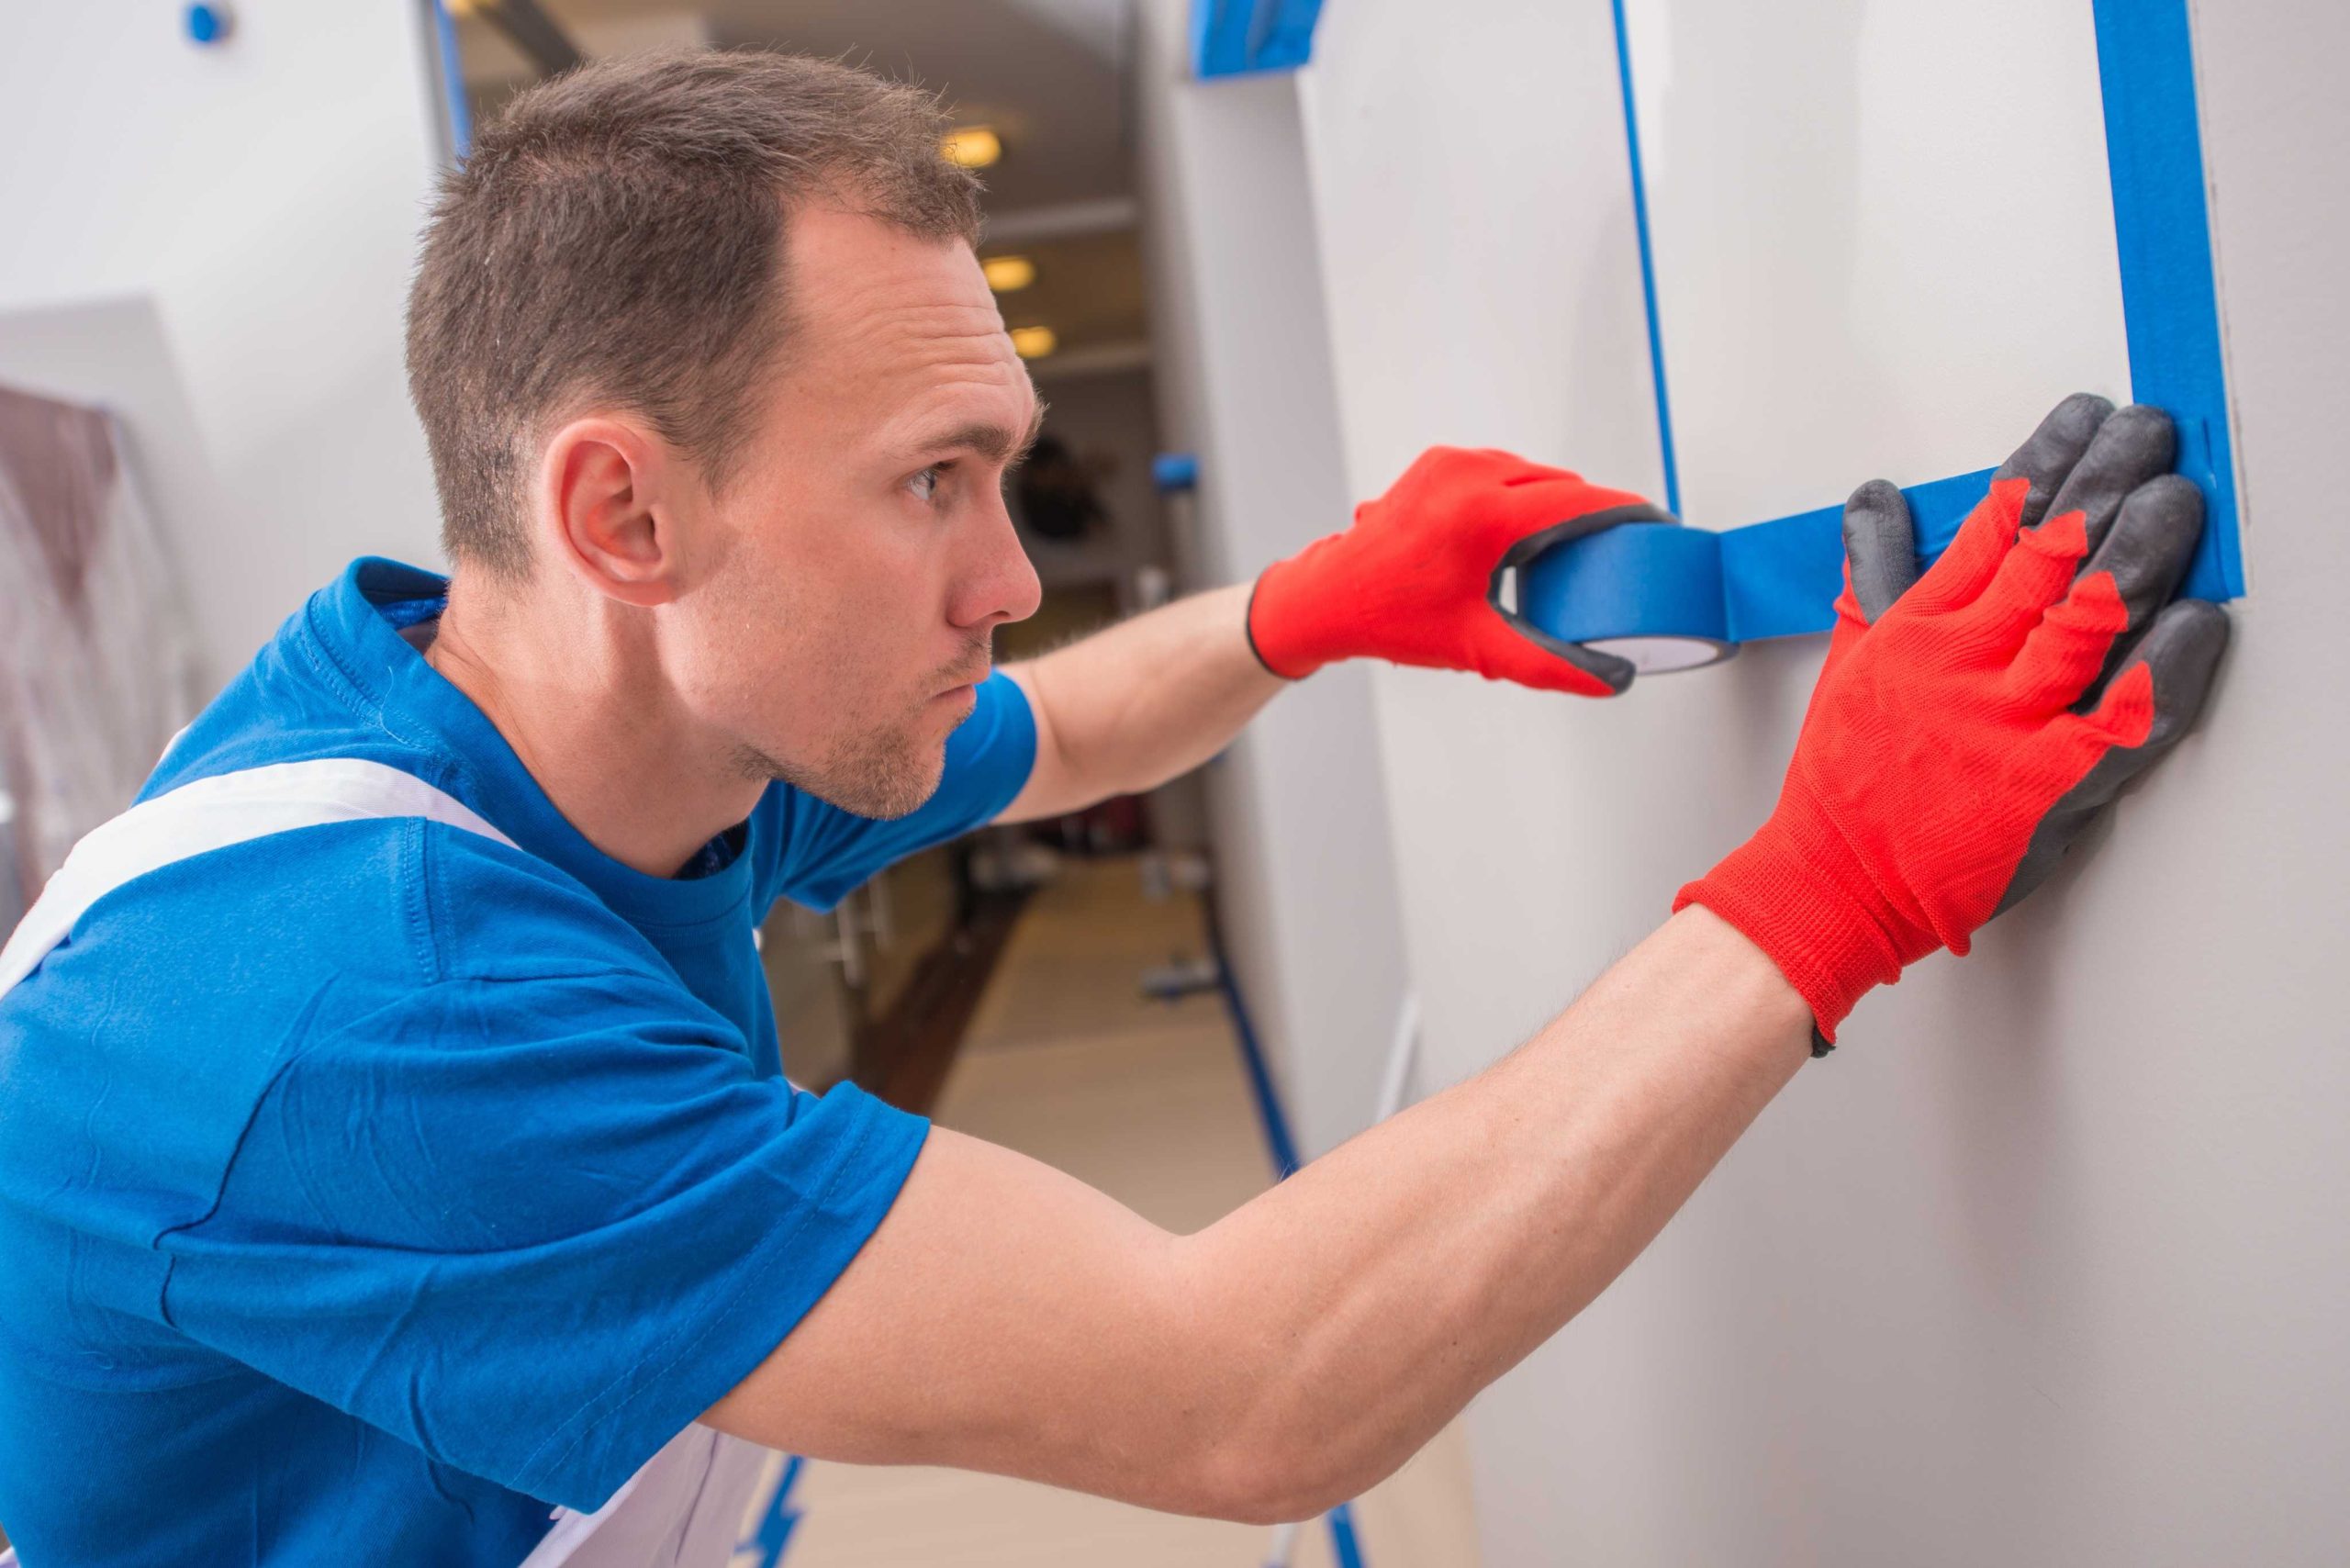
- Use drop cloths or plastic sheeting to protect your floors.
- Don’t hold back when applying the solution to the walls.
- Allow the solution to soak into the paste for up to 10 minutes.
- Use a putty knife or scraper to carefully scrape away the softened paste.
- Use a wet rag to wipe the wall.
- If any paste remains, repeat the process again.
For larger areas, you can use a garden sprayer to apply your solution. This can save time and ensure better coverage, especially when dealing with an entire room.
Tips for Success
- Work in small sections to prevent your solution from drying before you can scrape the paste away.
- For the best results you always want to use a warm solution.
- Wear rubber gloves to protect your hands from the hot water and to prevent drips from running down your arms.
- For complete removal, you may need to apply your solution multiple times.
- Be patient—removing wallpaper paste naturally may take longer than using chemical solutions, but the eco-friendly benefits are worth it.
When to Consider Other Options
Most of the time, natural methods work well for getting rid of wallpaper paste, but some adhesives might need more than one method. If you’ve tried a lot of natural solutions that haven’t worked, you might want to try using heat methods like a handheld steamer. These can help soften adhesives that are harder to remove.
By using these natural methods to remove wallpaper paste, you can get clean, smooth walls ready for your next decorating project. All while maintaining an eco-friendly approach to home improvement.

